I signed up for a Disney craft swap through a Facebook group at the beginning of the summer and the deadline was end of July. I just got it sent out at the beginning of the week. This was my first swap for this particular group but I was excited because it seemed like the level of crafters was a bit more elevated than other groups I’d participated in. Two months was plenty of time to come up with something awesome for my swap partner.

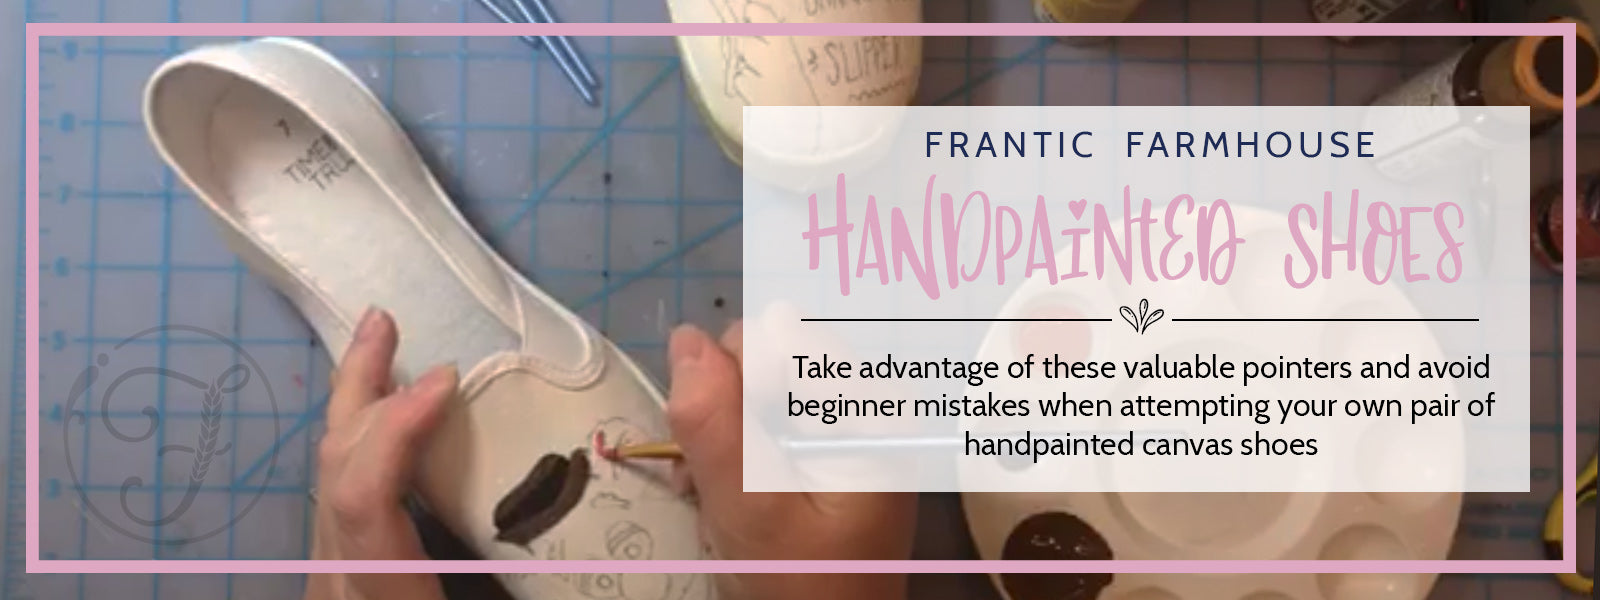
It’s been quite a while since I’ve participated in a swap so I was excited to get back into the groove. It takes a couple weeks for me to come up with ideas for my projects- reading my partner’s info, browsing Pinterest for inspiration, doodling it out, gathering supplies and figuring out how to execute it all. For this particular swap, I decided one of the gifts would be a pair of hand-painted shoes featuring my partner's favorite Disney character, Fozzie Bear. This was one of those projects where I just jumped right in. The shoes were only $5 so there wasn’t a lot of money invested if it didn’t work out. Here’s a few things that I learned along the way-
- You don’t have to be an artist! I measured the shoe too see how much space I had available and then took those measurements into Photoshop and started designing the layout. I printed the design, cut it out and to my surprise, it was the perfect size right off the bat.
- Stuff the shoe. Possibly an obvious step here, but make sure to stuff the shoe with paper so that you’ve got a nice, firm surface to work with.
- Transfer the design. So the next challenge was getting the design from the paper to the shoe. My first attempt was to use carbon paper to apply it. That was a fail. The carbon paper left a residue on the shoe canvas in places I didn’t want it. I had to paint over it with white acrylic paint which took several coats to get coverage, and still it wasn't the best. So after fixing that mistake, I decided to just fussy cut the design from the paper to make a stencil. Then I traced the outline onto the shoe (see picture below). For the details on the inside of the bear, I hand drew most of those. I couldn’t get his eyes and nose to look right so I cut those details out of paper and traced around it onto the shoe as well.
- Prep your surface. In the limited information I read online about how to paint shoes, one source said to paint the whole shoe with acrylic paint. I didn’t see the point in doing that. After all, the shoe was white, I wanted it white- why paint it? But it makes a big difference. After prepping the canvas with paint, it made the shoe stiffer and allowed me to erase pencil marks easier .

I finished up the painting and then outlined with a Sharpie. I could also tell a difference when using the Sharpie on the unpainted canvas vs the painted. The Sharpie bled a little bit on the untreated canvas. I should’ve expected this, but again this was my first attempt so there’s a learning curve. Overall it was a fun project! It turned out pretty cute and I think she’ll enjoy them. They are 100% original, and that was very important to me. Good luck with your shoes and I hope you picked up a couple tips that will make your project go smoother!