One thing you’ll learn about me is that I am into lots of different fandoms. If you’ve never heard of that term, it’s really just the name for a group of people who are fans of the same thing- TV show, movies, books, famous people, etc. Fandoms get even better when you can turn them into opportunities for crafting! I’m part of a Facebook group that does monthly craft swaps based on a specific theme for the month. Each participant fills out a questionnaire and is paired up with someone else. Based on their questionnaire, you are supposed to create crafty items related to the theme that you think your partner would like. Everything about this is right up my alley- it combines giving the perfect gift (which I LOVE to do), crafting and of course, certain fandoms. This particular month was a Gilmore Girls swap.

Based on my partner’s questionnaire, one of her fave characters was Rory Gilmore and she also loved the latin quote “In Omnia Paratus", the mantra of the Life & Death Brigade, meaning “Ready for Anything.” I loved the idea of rain coming down on the umbrellas which inspired me to do the crayon art. I’d always wanted to try it and this seemed like the perfect opportunity.
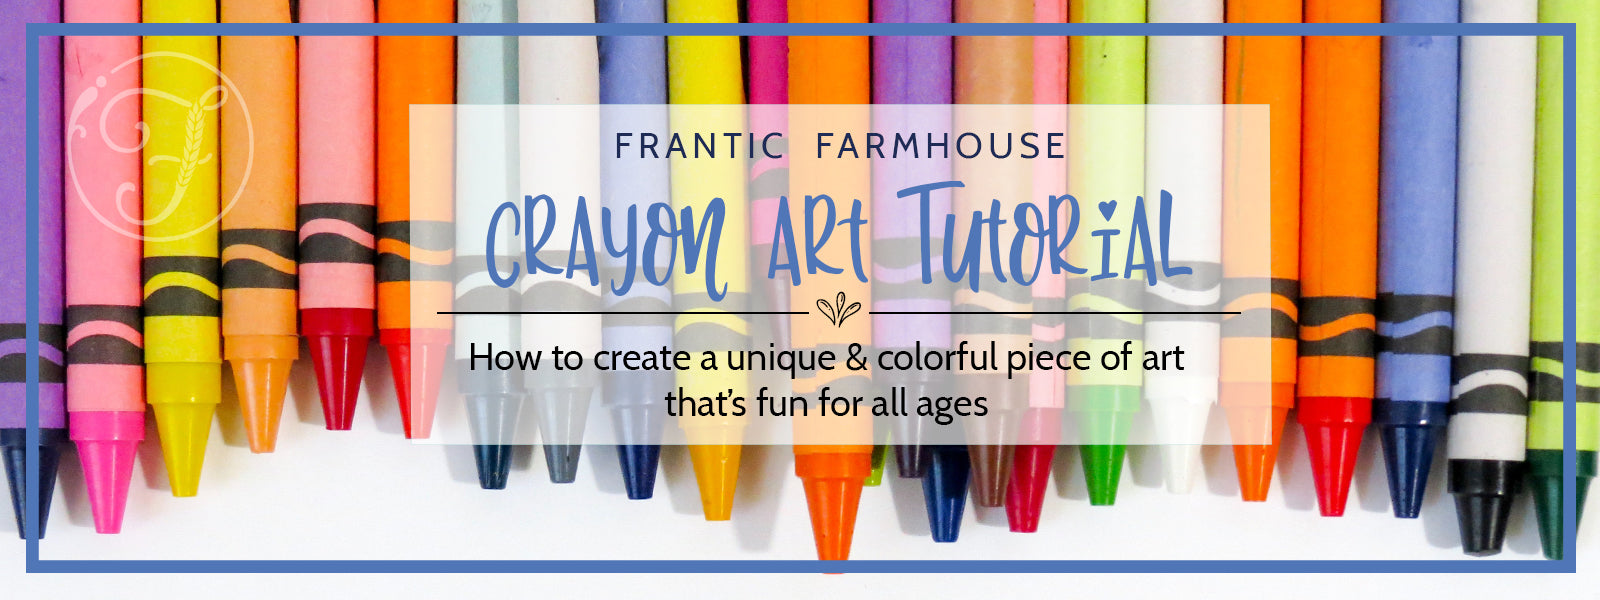
In Photoshop, I created the silhouettes and quote design and then cut it out of black heat transfer vinyl (HTV) with my Cricut Explore. I bought an inexpensive 48ct box of crayons, picked about 40 of them out and arranged in ROYGBIV order. You’ll see a lot of people attach the crayon to the canvas and then melt away, but I definitely didn’t want to leave the crayons attached as part of the finished project. I cut a piece of cardboard the same length as the canvas (I used a 11”x14” canvas) and hot glued each crayon to it, leaving just the point of the crayon sticking off the cardboard. This allowed the cardboard to sit directly on top of the canvas during the heating process.

Next, I trimmed the HTV transfer tape very close to the design, laid out my design on the canvas and applied it to the canvas with heat. I left the transfer tape on afterwards because my plan was to let the transfer tape protect the design.

I set up my work area against a wall close to an outlet. I put down some sticky transfer tape on the floor to set the canvas on, just in case any crayon dripped that far. For purposes of gravity, the canvas was propped against the wall and the row of crayons sat on top of that. I used my heat gun to apply heat, but a hair dryer also works. Heating the crayons went quickly and the runs actually happened a little faster than I expected- I wasn’t quite prepared for it. It took a couple passes to figure out how to maneuver it and how much/little heat to apply to get the right effect. Beware, the crayon runs fast! Overall, I think it turned out well for my first attempt. Using the transfer tape as a barrier for the crayon worked to an extent, but I had to be really careful and even so, it did bleed underneath in some areas. Also, I learned that the solid crayon residue will flake off the canvas so be careful not to touch those areas at the end of the run- I think that’s what gives it such a cool effect.


This project was only one of the items I did for the Gilmore Girls swap. I’ll share the rest of it in my next blog post, so stay tuned. If you’re a Lorelai fan, you definitely don’t want to miss it!